Showing posts with label Perry. Show all posts

Friday, December 6, 2013

28mm Napoleonics: 2nd game with 1 page rules.


Westphalians v Bavarians – part zwei

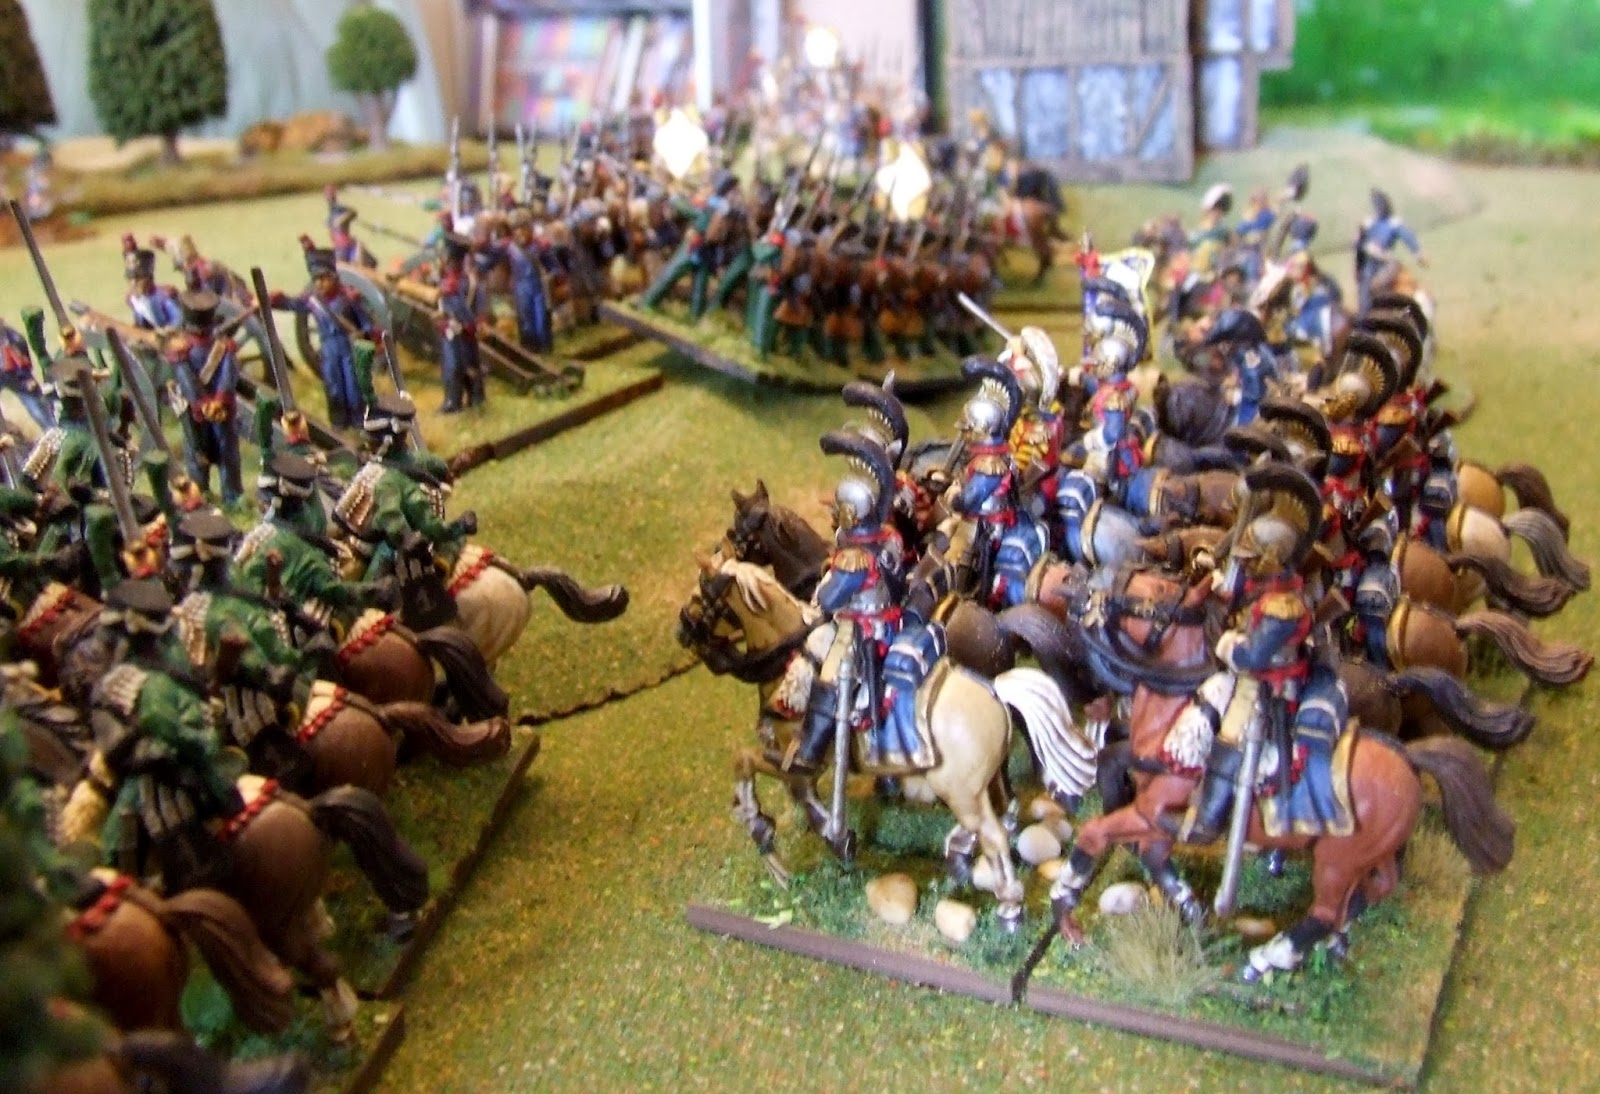
I decided to do a rematch using more or less the same troops as last time but with an extended table. Some crossroads and a village are the main features, plus a few hills and wooded areas. Main idea was to take and control the crossroad. Each side had 2 infantry and 2 cavalry brigades. The Bavarians (with completed basing this time) had a heavy battery as their main advantage. The Westphalians had a brigade of heavy cavalry as their main advantage. The heavies ended up being the difference. Very powerful against poor old light cavalry.

Brett came along and he controlled half the Bavarians. Richard placed his heavy cavalry brigade directly in front of the Bavarian light cavalry as soon as he saw the opportunity. The combat ended up being mostly one-sided and Richard opened up a flank by turn 5 so another clear win to the Westphalians. Horse artillery (1 per cavalry brigade) was effective and used aggressively on both sides.

We discovered a few more clarifications were needed regarding the countercharge sequence and evade distances but overall it was a smooth game. Once the fighting starts, a lot can happen in a turn when morale starts taking effect. The importance of having rear support and secure flanks kicks in. The Reserve move phase is also important as it allows each side to move any units that haven’t moved that turn to push into gaps or even exploit them. Brett and Richard started to appreciate the skirmish rules a bit more and used them quite well.

A couple of times we thought of adding a few interesting rules but then decided it defeats the point of having a simple set of rules to play a complex period. They may, one day, even get to 2 pages long. But I think, at least for now, keeping it easy and fudging the tricky stuff is good enough.
 
Cheers,
Mick

 Westphalians lined up
 Bavarians lined up
 Table view
 First turn movement
 Advancing on the village
2nd turn movements

 Westphalian Light Cavalry

 Cheeky bugger Horse Artillery
Westphalians forming a battle line
 
Fighting starts for the village

Westphalian Heavy Cavalry push back the Bavarian Light Horse
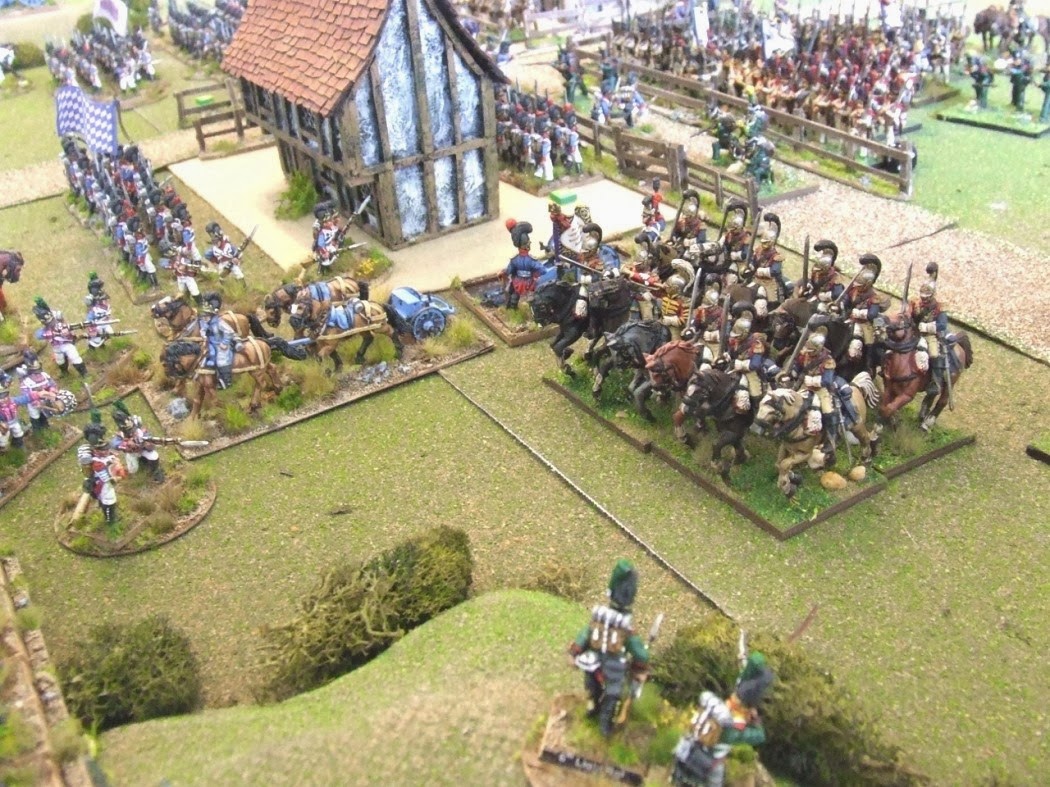
 The gap created by the heavies 
Firefight starting 
Heavies pushing around the Lights again


 Mirror image on this side of the village
Westphalian guns send a Bavarian line unit packing
Heavies dispatch one cavalry unit with ease – one to go
Refusing the line, just as the Bavarian village defenders run away
  No more Bavarian cavalry on this flank as the Westphalians smell victory
Close up of imminent defeat
One Westphalian unit routs – albeit temporarily
 
Reserves push into the stalemate fight for the village as the game is called in favour of the Westphalians
 Notes on rules
The rules in their current form
 

Sunday, November 17, 2013

28mm Napoleonics - 1 page rules Test Game

Hello All,

After the AWI games with the Fife & Drum rules I made a few adjustments and managed to convert them into a 1 page Napoleonic set. Richard and I played a basic scenario on Saturday to test them out. Richard used his Westphalians (in his own words "Nobody's favourite army"), while I used my Bavarians that I had just rebased but not fully completed. A reinforced division per side. Fast, fun and easy to play.

The game was successful and went smoothly. We are both fairly laid back and we made about 3 changes as we played without getting worked up about it. Regarding the scenario, the Westphalians had to attack and capture both hamlets and control the high ground. In the end I had my arse handed to me. I made a few mistakes and couldn't hit a barn door so the Westphalians won completely. Not a sentence I ever thought I would write.

Richard says the skirmish rules took a bit of getting used to. The skirmishers work as 'shields' against musketry. They absorb/negate a hit for each skirmishing pair of figures. So if a battalion has 2 skirmish pairs and they take 3 hits, then it becomes 1 hit on the parent unit. Likewise, they also add a firing die each and need a 1-2 to 'hit'. I think they worked really well as they were useful without being overpowering and having skirmisher superiority is a distinct advantage.

Anyway, on to the pics.

Cheers,
Mick


Saturday, September 21, 2013

AWI Game Report - Fife & Drum rules

Below is a report of a fairly large AWI game that was played a couple of weeks ago. Most players were new to the rules and everyone caught on after a few turns. The rules are based heavily on morale but still lots of shooting and melee action. Movement is (thankfully) generous and initiative rolls are very important for momentum. A simple matrix style of layout and a lack of 'fluff' makes them truly fast play. A good, fun day.

Lots of pics!

Battle of Beerywine – AWI game report.

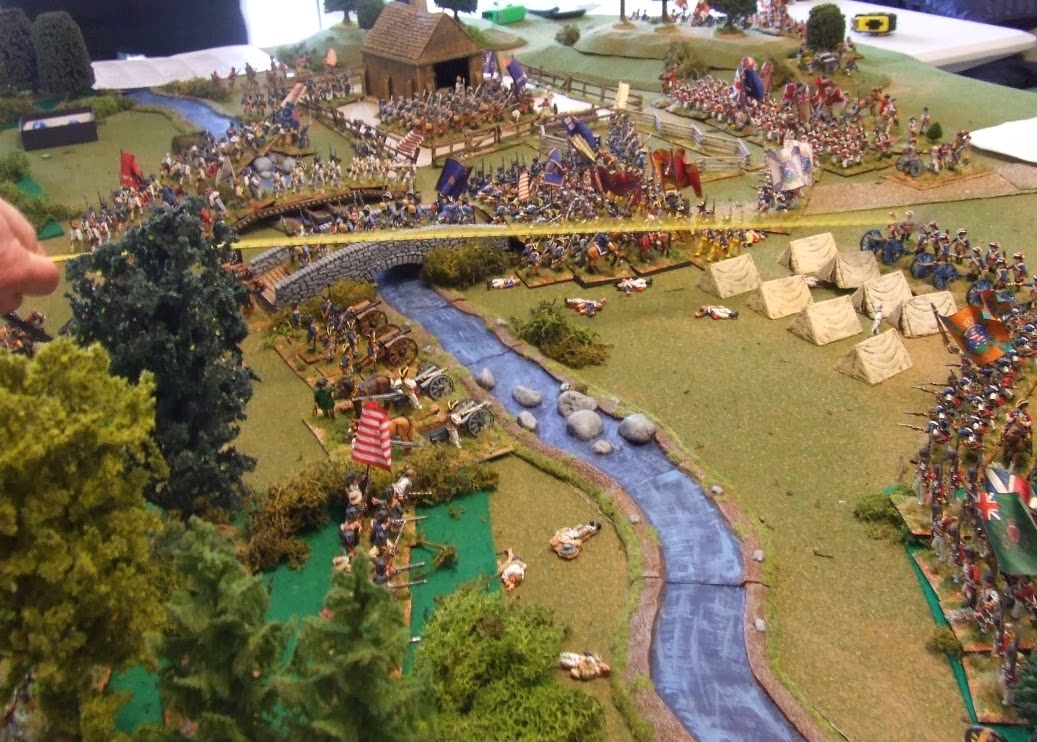
Basic table setup: a river with one bridge, a Hessian camp in the centre and a small settlement.
Other side of the table.

  Just a shepherd chilling out; hoping, for no reason, this doesn’t become the scene of a bloodbath…

Some dragoons and geese – just because…

…Alright because I’d just finished retouching them the day before. Yes the flags are completely wrong but couldn’t be bothered changing them.

Sneaky Americans move to their start positions. Note the riflemen in the foreground.

Another view that shows the pontoon bridge they put up. The rocks on the river below the pontoon are fordable. Hence the massed formation right behind it. Note the Hessians in the camp start positions.
Rebel guns line the river opposite the Hessian camp. Light dragoons all poised and dragoon-y.

 First turn and the Rebels are off and begin streaming across the river. A good start.

The Hessians start to react and throw out a hasty battle line.


The first round of firing and subsequent (crappy) morale tests. Note the absence of riflemen in the foreground. The jaegers that caused the damage were called very rude words from that point on.


The Hessians win a vital initiative roll and charge into some Continentals – swiftly sending them packing. More rebels take their place but are starved of room to move.
Another view of the American troops scrambling to get into position as the first of the British reinforcements arrive (top right).

 Hessians keep the pressure on while the Americans try to find suitable defensive positions to counter the waves of advancing British.

At the bridge, both sides are evenly matched and cause a lot of damage to each other. Both sides roll well with morale to keep it a tight contest.

 Some of the aforementioned waves of British.

Yes – more of ‘em.


A shot of the game situation about turn 4.

 Chris’ hand helpfully showing us the target that he insisted on missing with his guns.


Around turn 5 and the high-water mark for the Americans. They’ve taken a lot longer than wanted to clear a bit of room to move.

 Some Loyalists trying to move toward the action.

The American view of their “not quite ready” defensive positions to face the oncoming Brits.

Jaegers in the foreground that harangued and sniped at the American right flank.

 The Americans guns retired, while the British and Allies close on the lonely looking bridge defenders. An ominous looking situation.

The British take a few losses but close easily on the Continentals defending the settlement.

The Americans attempt to trade off space for time.

The final assault on the bridge (top left) as the shot up Hessians kindly provide cover for the fresh British brigade in the rear.

 The last fresh militia brigade are placed with the guns as cover for any involuntary withdrawals J

Redcoats have entered the settlement.

Pesky foot dragoons picking away at militia.

Some more militia to try to stem the flow. And, oh typical, an ex-slave lying down on the job.

Defending Continentals doing a good job but unable to hold against the weight of enemy numbers.

Bridge defenders have their last stand as the British bash their way through the bloodied sheep enclosure.
End of turn 7 when the Rebels (wisely) gave up the field to the enemy and the game was called (after several jokes about rounding up the civilians into locked buildings and burning them). The tents were all trampled to bits causing a Hessian general to have an aneurism.

The game was scheduled for 10 turns and the umpire determined that the British would have achieved their objectives by end of turn 9 giving them victory by 1 turn. The Americans were getting concerned about army morale and were 4 units away from breaking. One unlucky turn could have broken the army so they decided to keep the army intact as their consolation prize. The Americans did a good job and came surprisingly close despite the losses.

The British and Allies managed a clear victory, largely due to the Hessians that stymied any American progress across the bridge. Their solid morale throws and pressure made it difficult for the Americans from turn 2. Winning the initiative rolls for first few turns was also significant.
Seemed that the rules went down well and worked for the scenario. Somewhere around turn 4 the players were running independently with the rules so that was a good sign. Not having to look up multiple charts and using logic for anything tricky seemed to make the game flow well enough. I think all the players will be happy to give them another go for the next time.

Cheers,
Mick